So last weekend, I pulled apart my Skyward Sword joy-cons and replaced the joystick with the Gulikit Hall Effect replacements. Why would I do this? To get rid of stick drift on my left joy-con, without buying a whole new set!
Repairing electronics can be tricky, but as these parts are fairly self-contained I was pretty sure I could handle them. It’s been a long time since I have had to do any serious electronics work. I don’t even know where my soldering iron is anymore!
This joystick repair is closer to swapping out parts on a laptop, which I still do semi-regularly. If you are interested in trying any joy-con repairs (or repairs in general), I highly recommend iFixit for guides and potential tools.
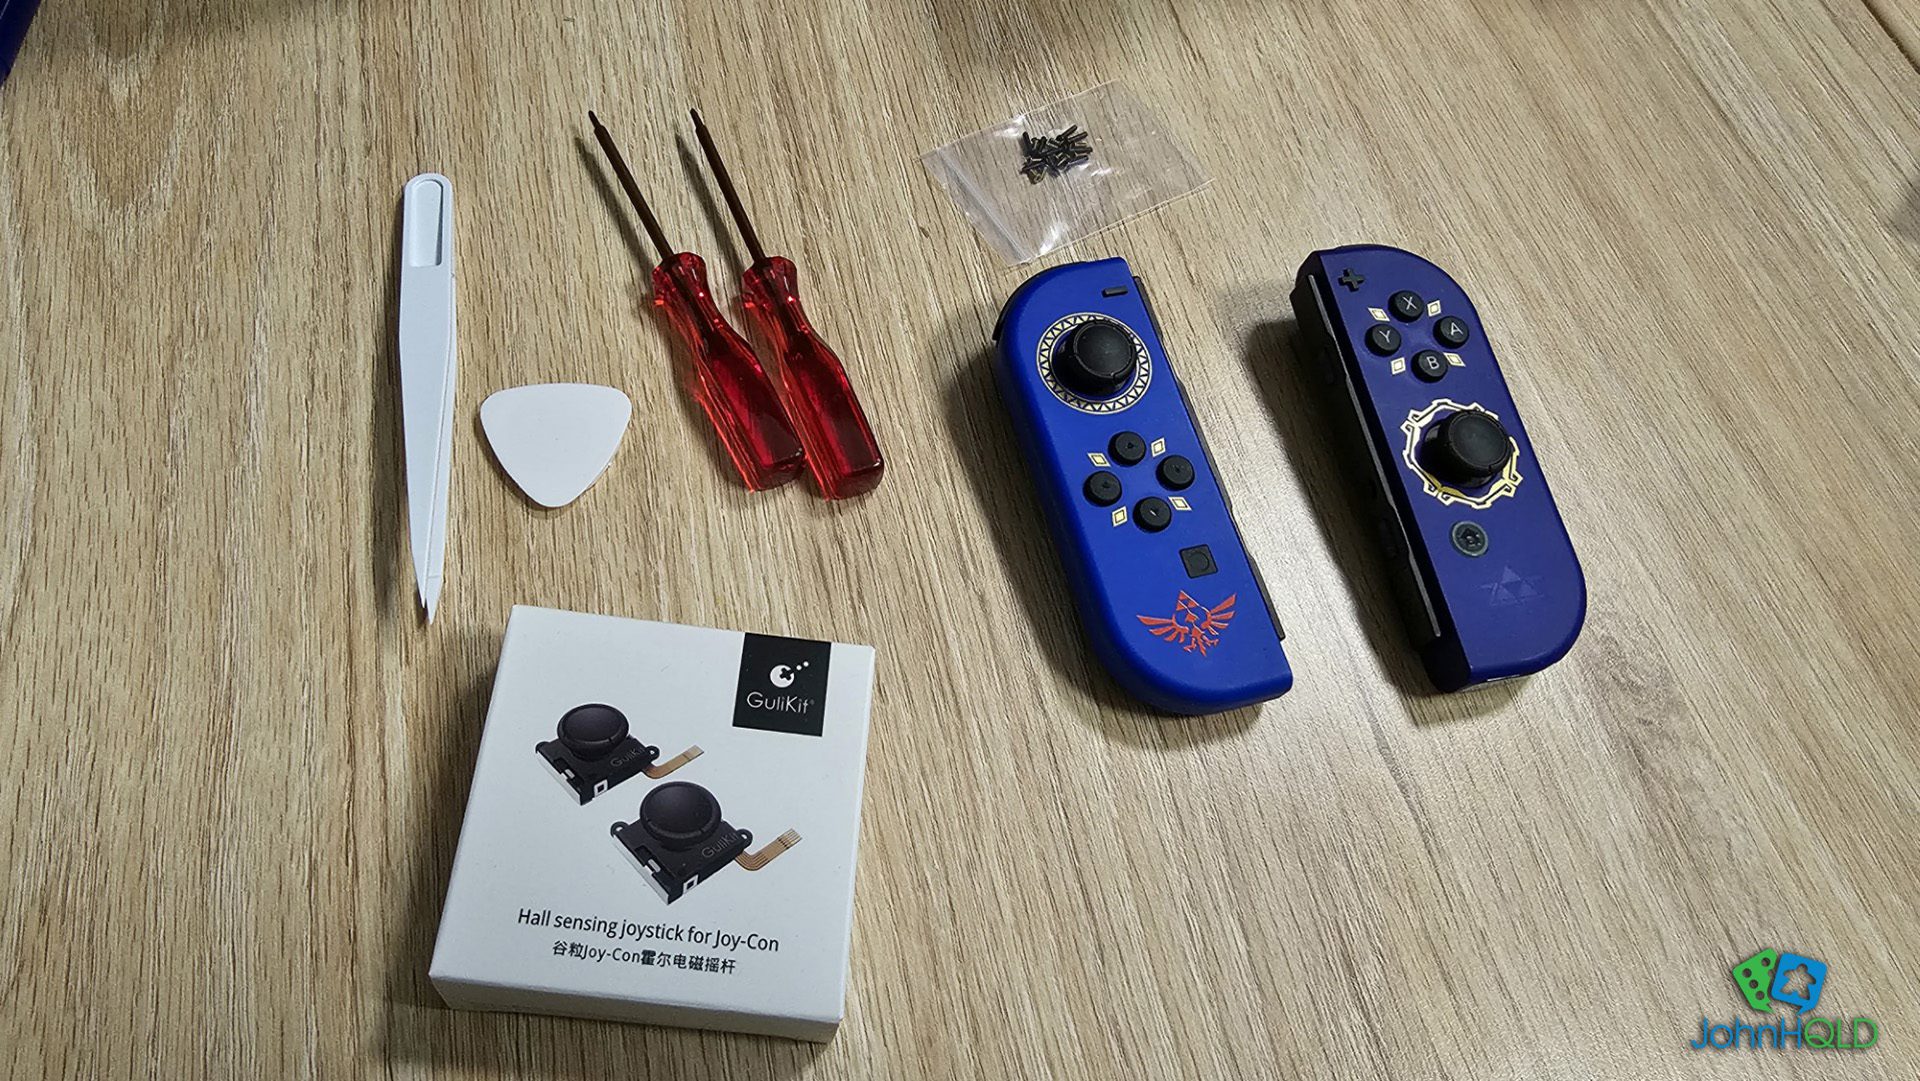
In this case, Gulikit provides all the tools you will need, and while basic will last for a few different jobs if you are careful with them. What I am not going to do now is give instructions on how to repair joy-cons. See Gulikit’s instructions and tutorial videos and for that – it will be much easier to follow!
What I am going to talk about is my experience, show you how simple and cheap some repairs can be, and what to expect from upgrading to hall effect joysticks!
If you want to skip to why I do this and what I think of the Gulikit hall effect joysticks, jump straight to the final gaming test and verdict.
The Repair – Left Joy-con
The left joy-con is the one I have heard everyone talk about. Now that I have replaced the sticks, I know why!
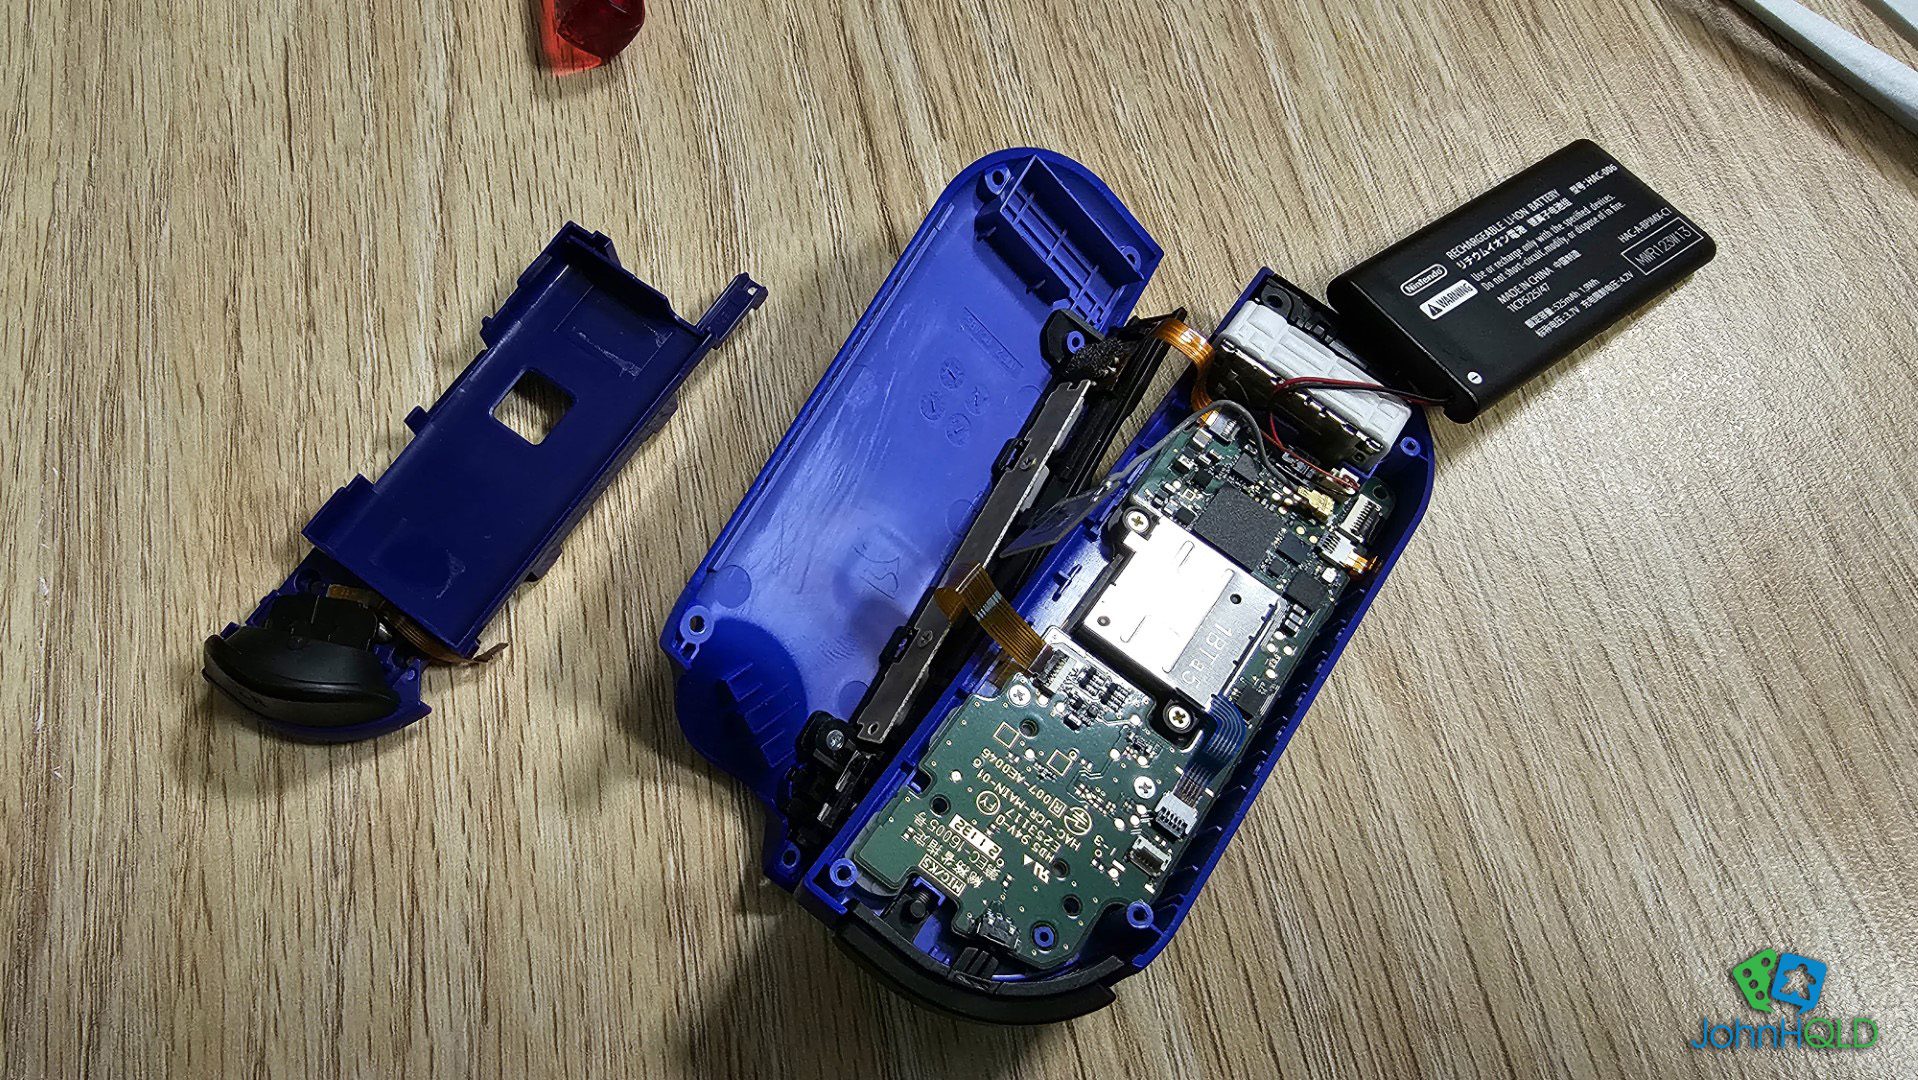
The left joy-con is the simpler of the two, and the repair was very straightforward. The most complicated part is the small ribbon cables that connect everything together.
By complicated, I mean if you crack the joy-con open all the way there is a solid chance you will ruin the cable, ruining the controller. Take your time, and this is why watching videos.
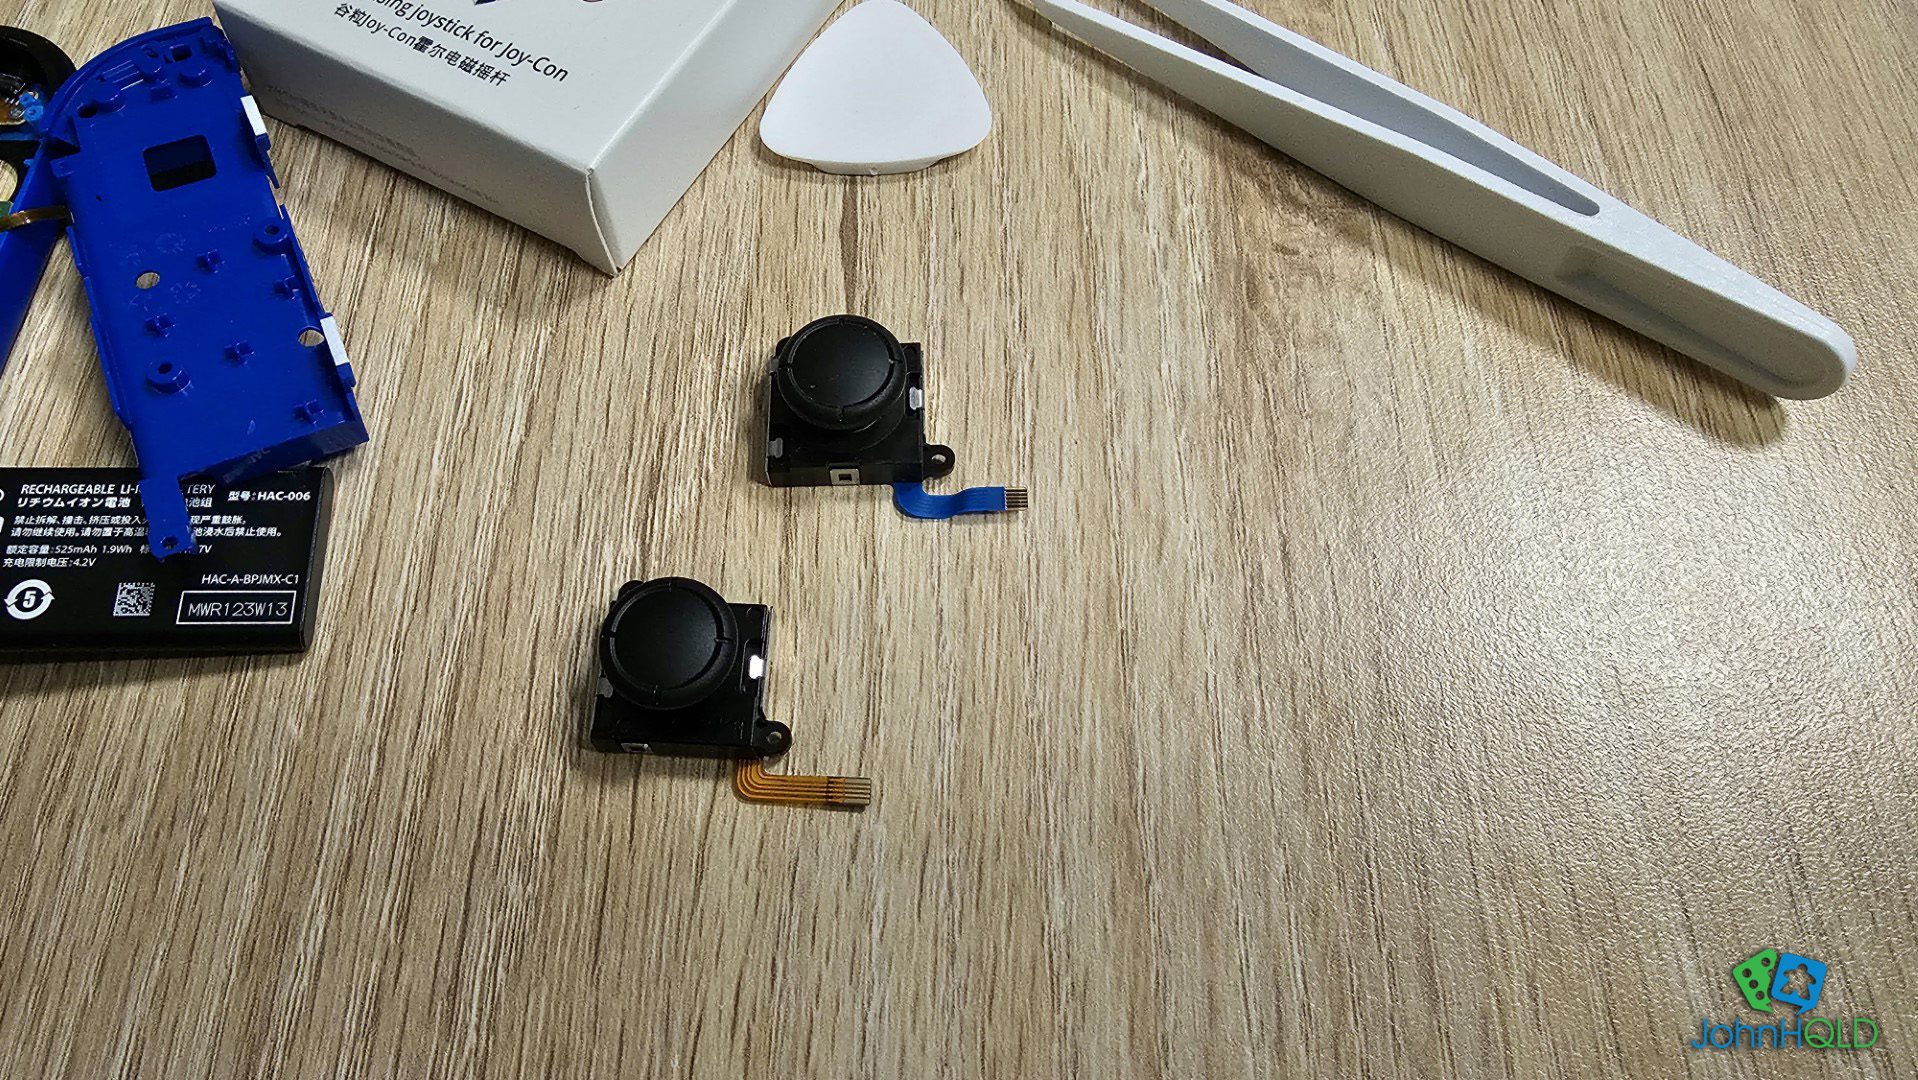
The joystick module itself is simple – two screws and a ribbon cable. The only ‘trick’ is getting in to be able to safely manipulate the ribbon cable. Again, take your time, and everything should be fine.
Other than being wary of ribbon cables, the most trouble I had was slowly lifting back the joystick to not damage the gasket.
Even with knowing what was coming, it took me about 30 minutes to switch the joystick module and put everything back together.
The Repair – Right Joy-con
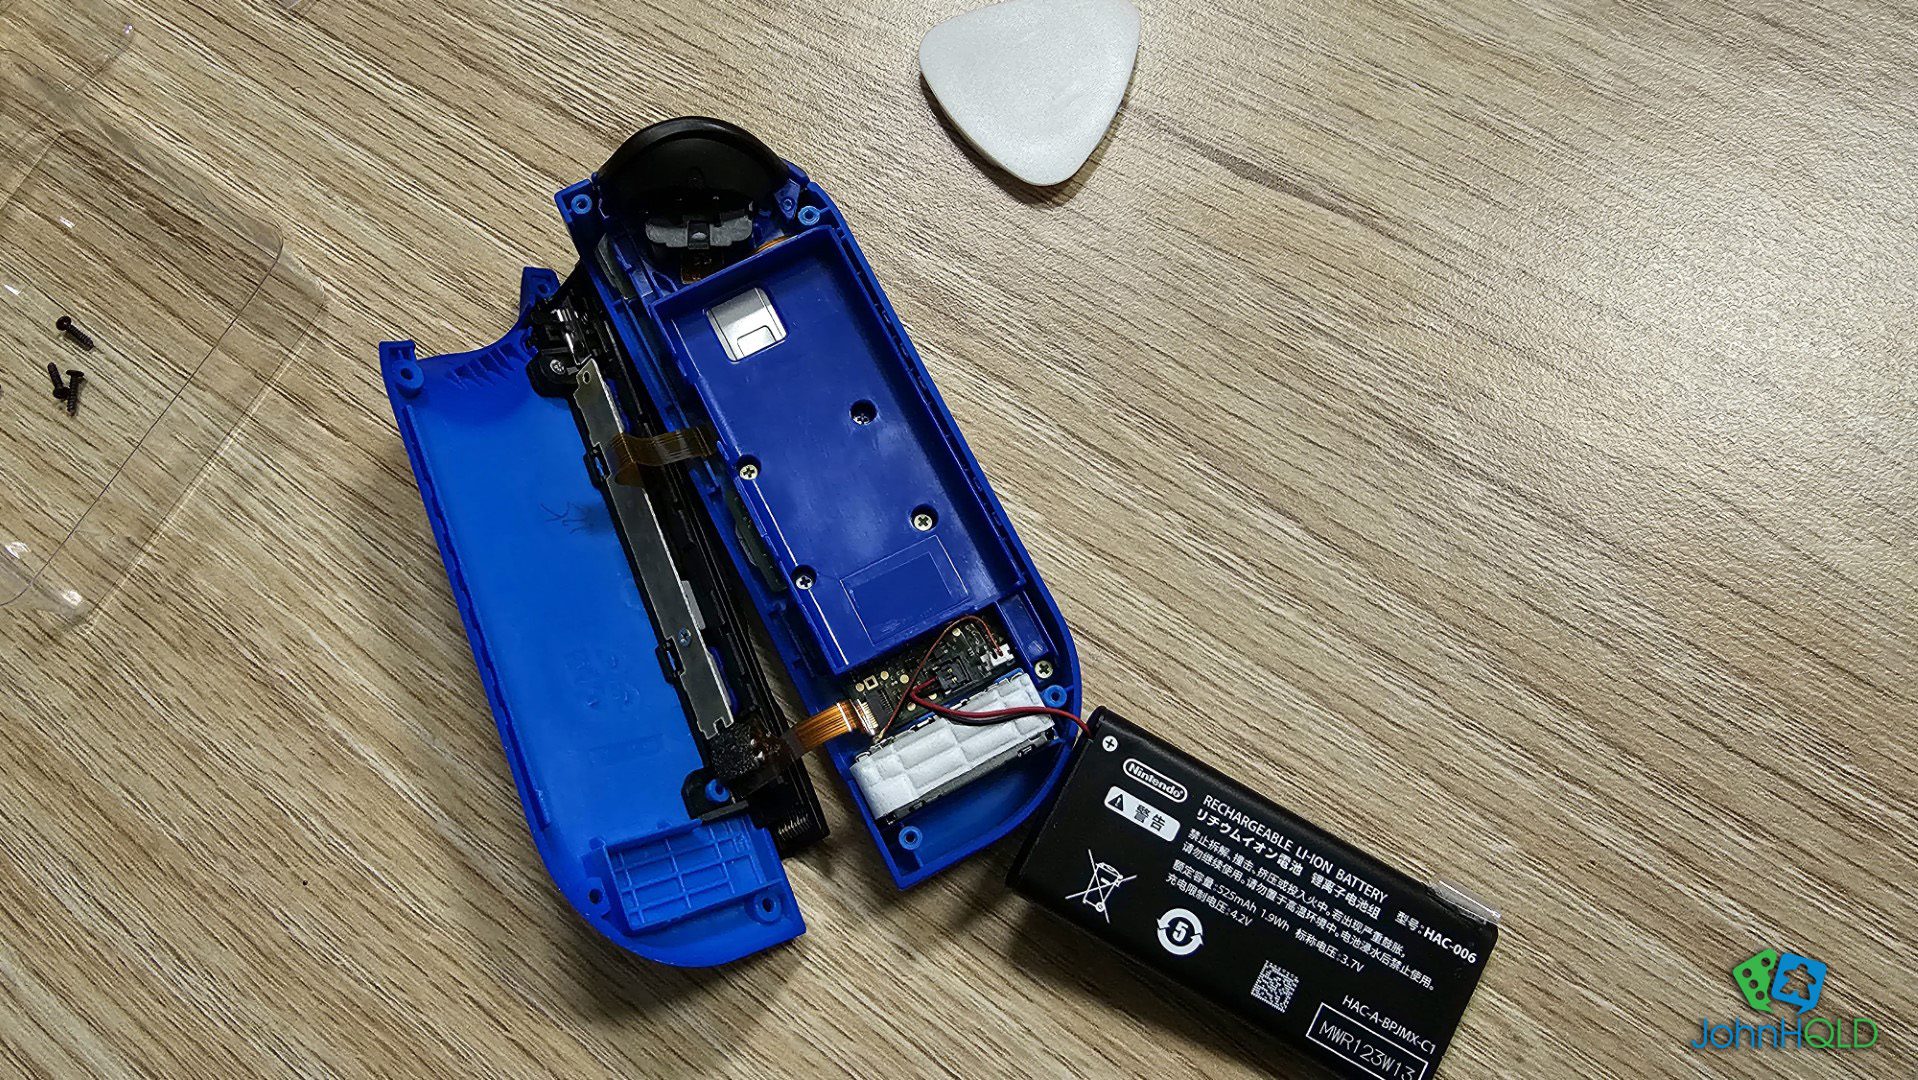
I was feeling much more confident and proceeded to open the right joy-con with more confidence. This was slightly misplaced, as I forgot that the extra components made for a much tighter fit on the right-hand joy-con!
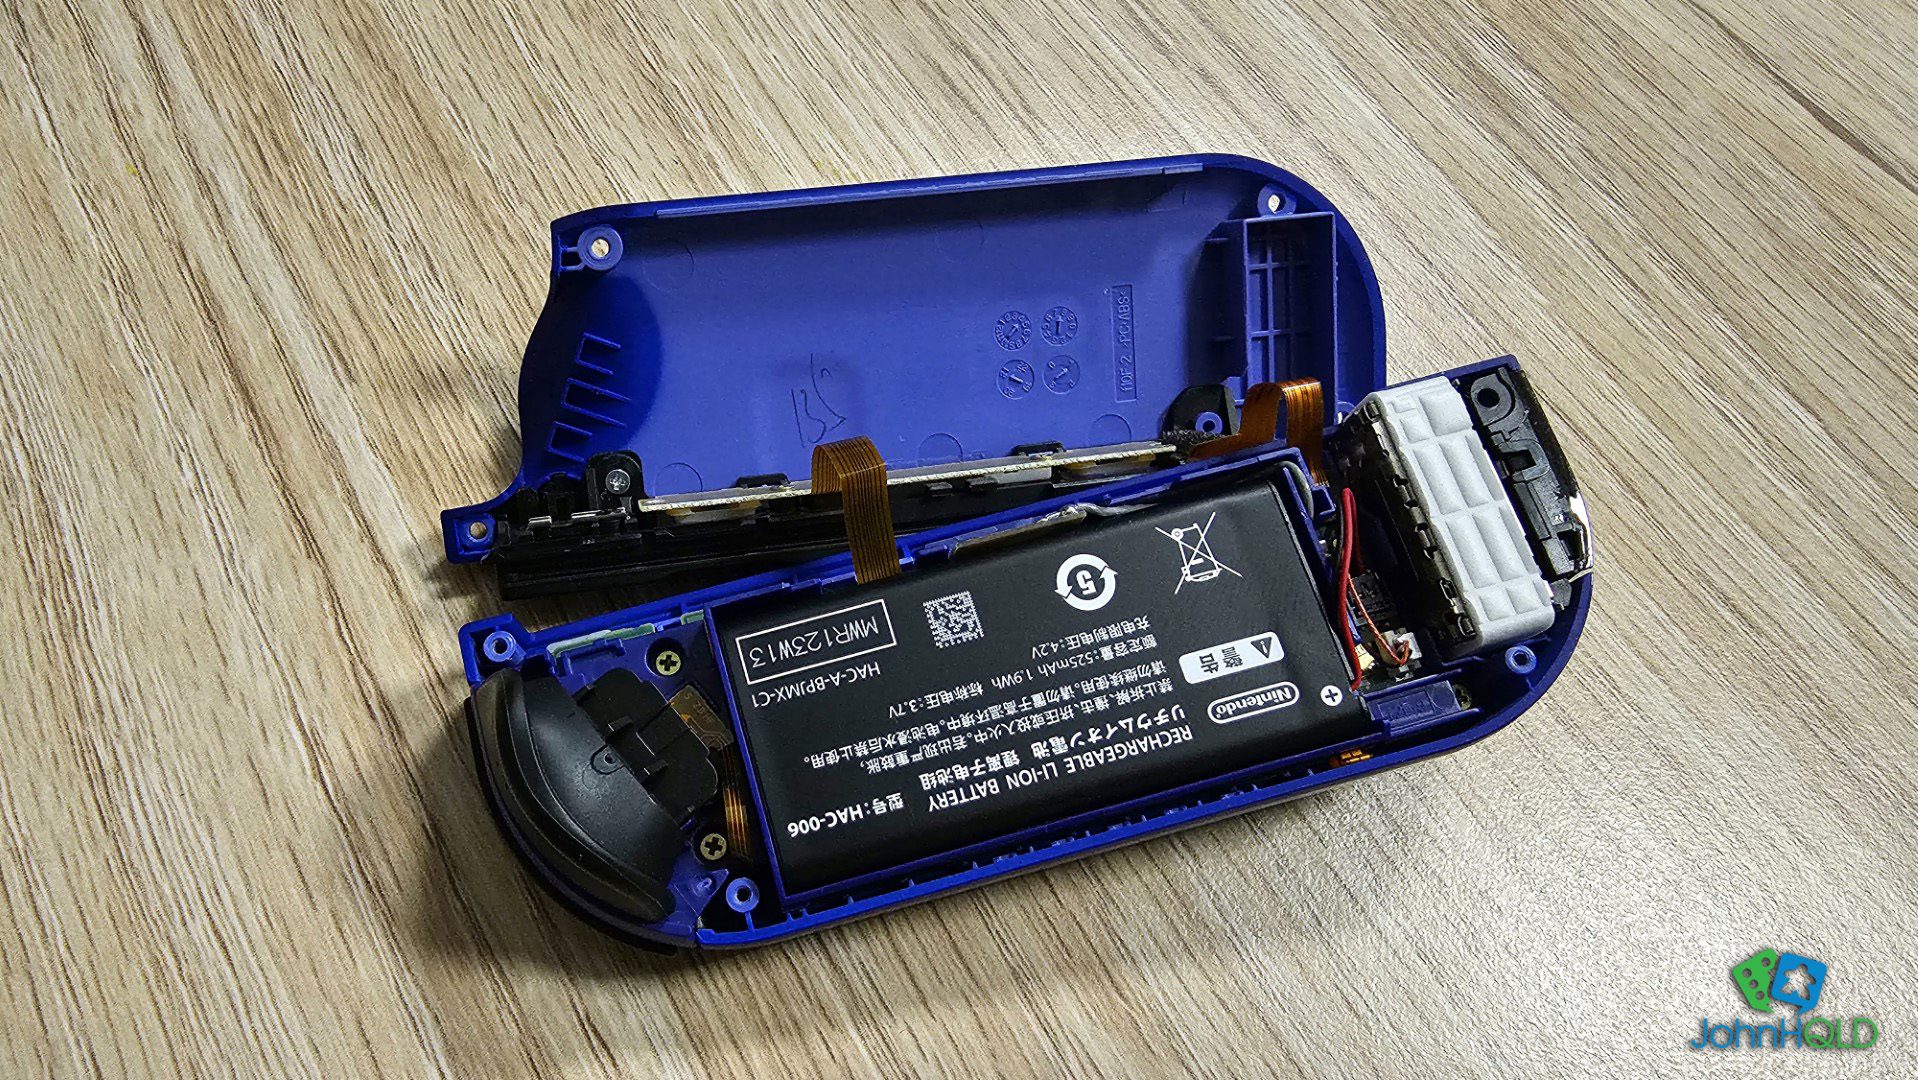
The biggest obstacle here was separating the layer that holds the battery and the bottom (top?) of the joy-con. To get to the joystick, this needs to be out of the way, but there is minimal play in this cable to carefully leave this section to the side!
Up until now, I had been using the Gulikit-provided tools to see how it all worked for people without iFixit kits. And until this tight cable, everything was going well. With my eyes going and tricky hands, I did resort to my iFixit kit for an angled tool to help pull and replace the ribbon cable.
You don’t have to pull this cable if you are careful, but especially the first time in I would recommend it. Giving yourself as much room as possible to replace the joystick module can only help.
Again, slow and steady is the key, but here there is less room to work with. If you have doubts, definitely tackle the left joy-con first. If you have a friend that can put parts in a laptop, ask them for help if you are unsure. Let them open the left joy-con first as well – don’t throw them in the deep end!
So remember that photo of the original and hall effect joystick modules? It was here I made my biggest mistake. Instead of adding the hall effect joystick, I added the left original joystick!
This meant I got a couple of goes opening and replacing the modules on the right-hand side. But if this is the biggest mistake you make, things are going pretty well!
The Repair – Testing and Calibration
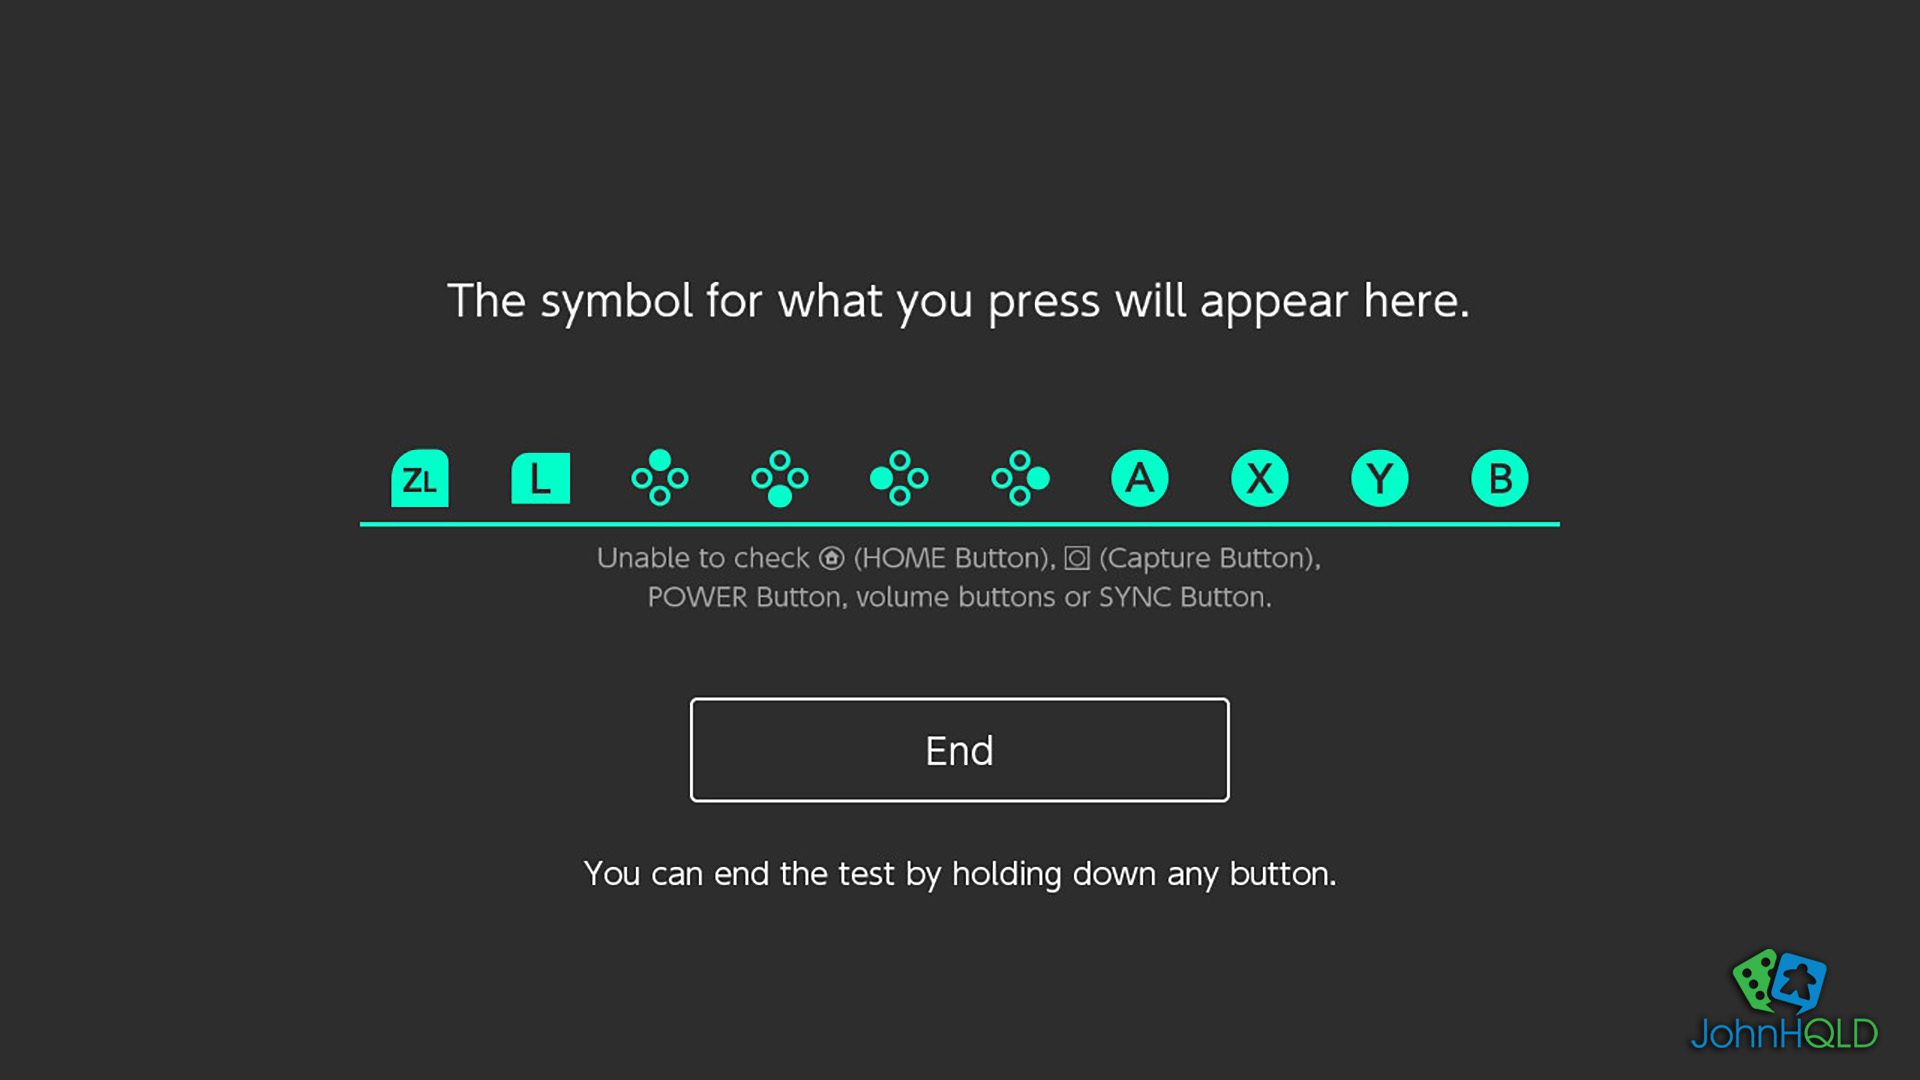
This part gets skipped a lot in tutorials which surprises me but is essential when replacing components. With everything back together, go to System Settings – Controllers and Sensors – Test Input Devices, and make sure you can press all the buttons on your joy-cons.
It takes 10 seconds, and you know that all your buttons work and can be confident you put everything back together correctly!
Once that’s done, the only step remaining is to calibrate your sticks. If you don’t, you will have stick drift right out of the gate!
Go to System Settings – Controllers and Sensors – Calibrate control sticks, and follow the prompts. This involves holding the stick up, down, left and right then rotating the stick a couple of times.

Just do the same thing one more time for motion controls as a final sanity check, and you are all done. That’s it! Less than a minute for everything, and your joy-cons are now in tip-top shape. If something fails, most likely you need to reconnect a ribbon cable, meaning you need to open the joy-con again, but that’s all.
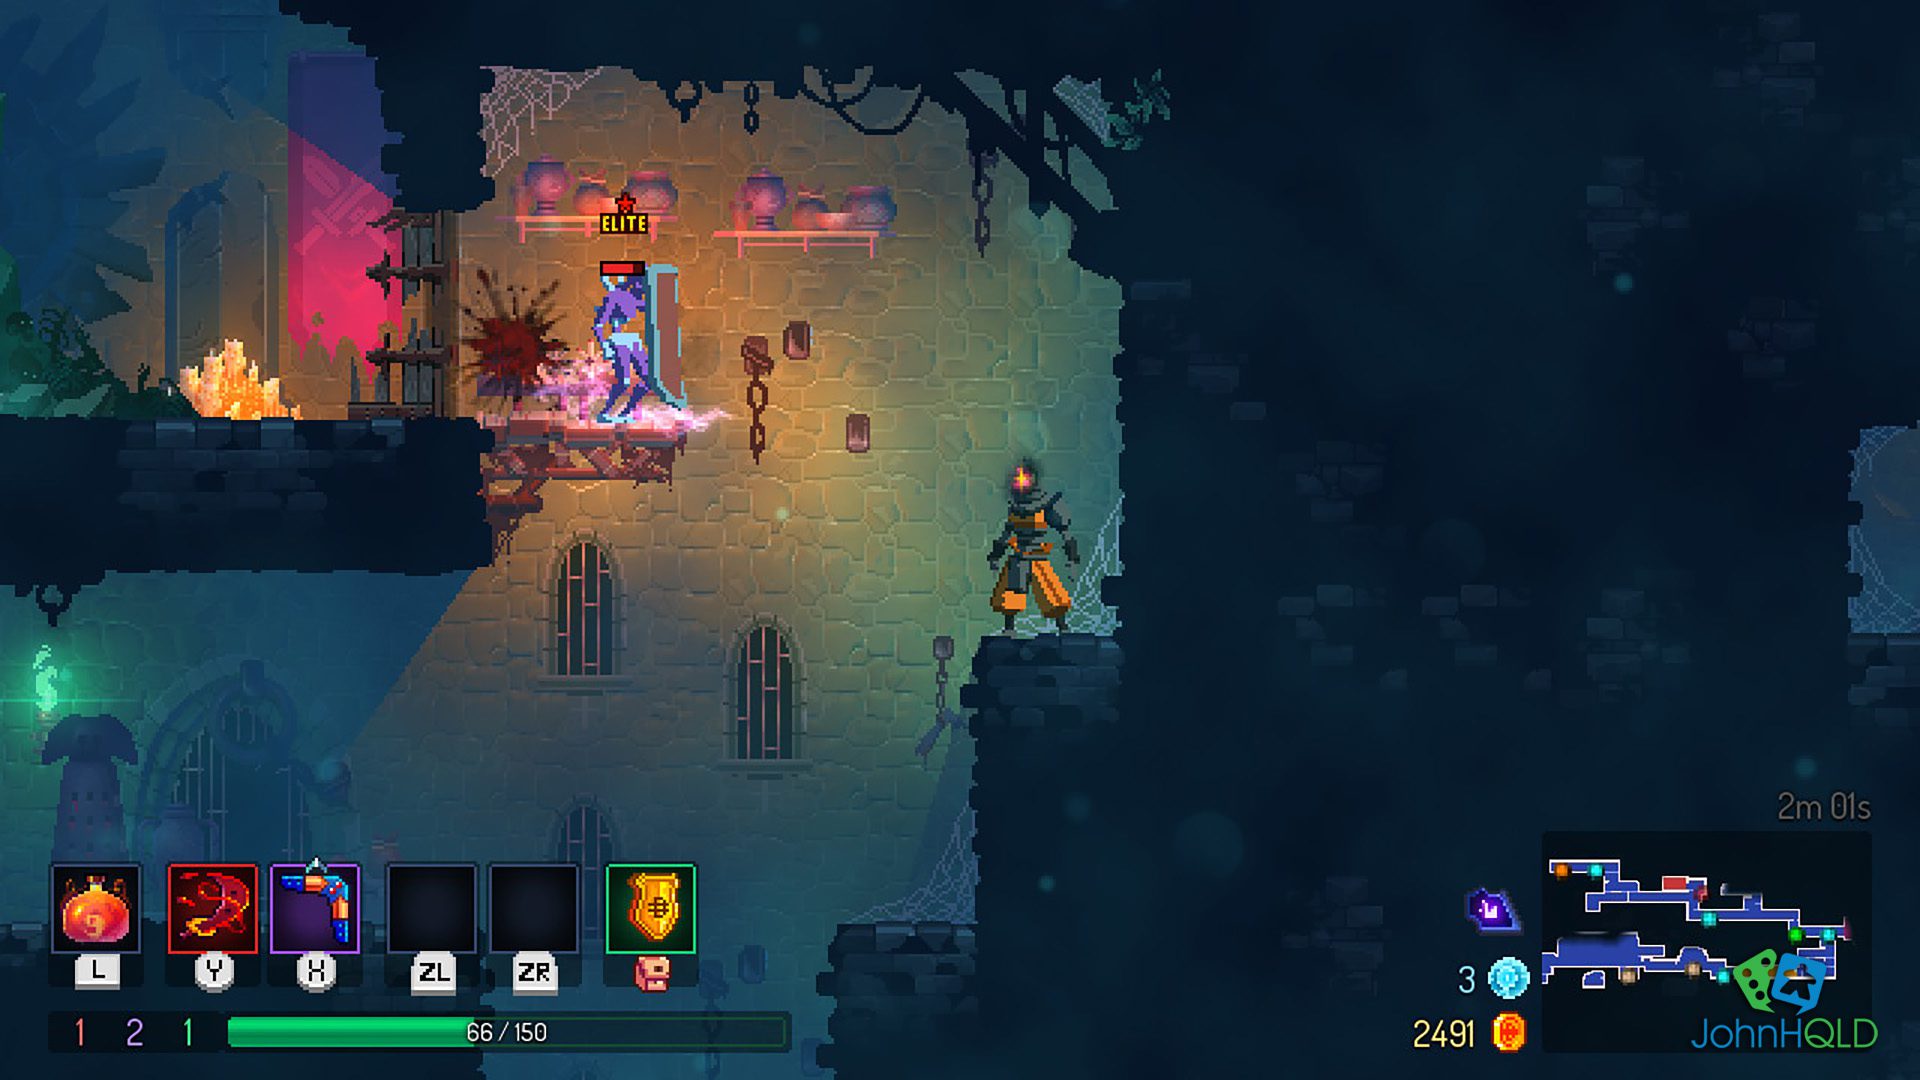
The final test – gaming.
Now is the bit that disappoints many people. Playing with the new hall effect joysticks feels exactly like playing with any other joy-con.
There is a little more pressure involved in moving the stick, but I prefer this. It’s hard to describe, it’s like the difference between the original joystick and the stick on the DualSense Edge.

If you aren’t already nodding in understanding, the new joysticks will take a few minutes to adjust to. That’s it. It’s nothing game-changing or revolutionary, you are still playing with joy-cons.
Other than that, you have a working joy-con. That’s it. And except for an hour or so of time, it cost me very little. Minimal waste, less cost, and joy-cons that will stay away from landfill for quite some time!
After trying out a few games, some that I hadn’t picked up in weeks, I can now say that the operation was a success!
The final verdict
So why go through all this? Because now I have joy-cons that the buttons or battery will wear out before the joystick does again. And as you can see from the photos, changing the battery is a simple affair. If the buttons stick or a spring breaks, that’s also repairable.
Hall effect joysticks aren’t some magic bullet for amazing controllers, but they help your investment last. I mentioned this in the DualSense Edge article – controllers are expensive, and if I can make them last longer I will.
I am disappointed with the costs of controllers that hall effect joysticks aren’t available on ‘high-end’ controllers already. That’s capitalism I suppose – why offer an improvement on the part guaranteed to fail first? You can’t sell more controllers that way!
But while time-consuming the first time, now I can change Rabbit’s joy-cons when she starts to experience drift. I know I can change the battery, and clean up contacts for button presses.
I will need to fix my joy-cons over the coming years, but I don’t HAVE to buy new ones again unless something goes very, very wrong. I still prefer the feel of the Hori Split Pad Pro, but for when I am travelling the slim line joy-cons will make transportation and quick sessions much easier.
Now to start on the Steam Deck. Where is soldering iron…
Until next time!
JohnHQLDDon’t forget to find me on Facebook or @JohnHQLD me on Twitter, Hive and Instagram! And don’t forget you can get random gaming and pet pics on Instagram as well. 🙂
Interested in the kit seen here? Gulikit Official Joy-Con Hall Effect Replacement Kit (no affiliation link): https://www.aliexpress.com/item/1005005138828099.html